Enabling the Displaying of an Icon When Recording is in Progress
The Display icon when recording is in progress option is used to inform users who are logged in to the Client computer that their actions are being recorded.
It can be enabled and configured either while editing the Windows Client / Client Group configuration, while defining the Client settings during remote installation, or while generating the Client installation package for local installation.
When this option is enabled, the Recording is in progress (
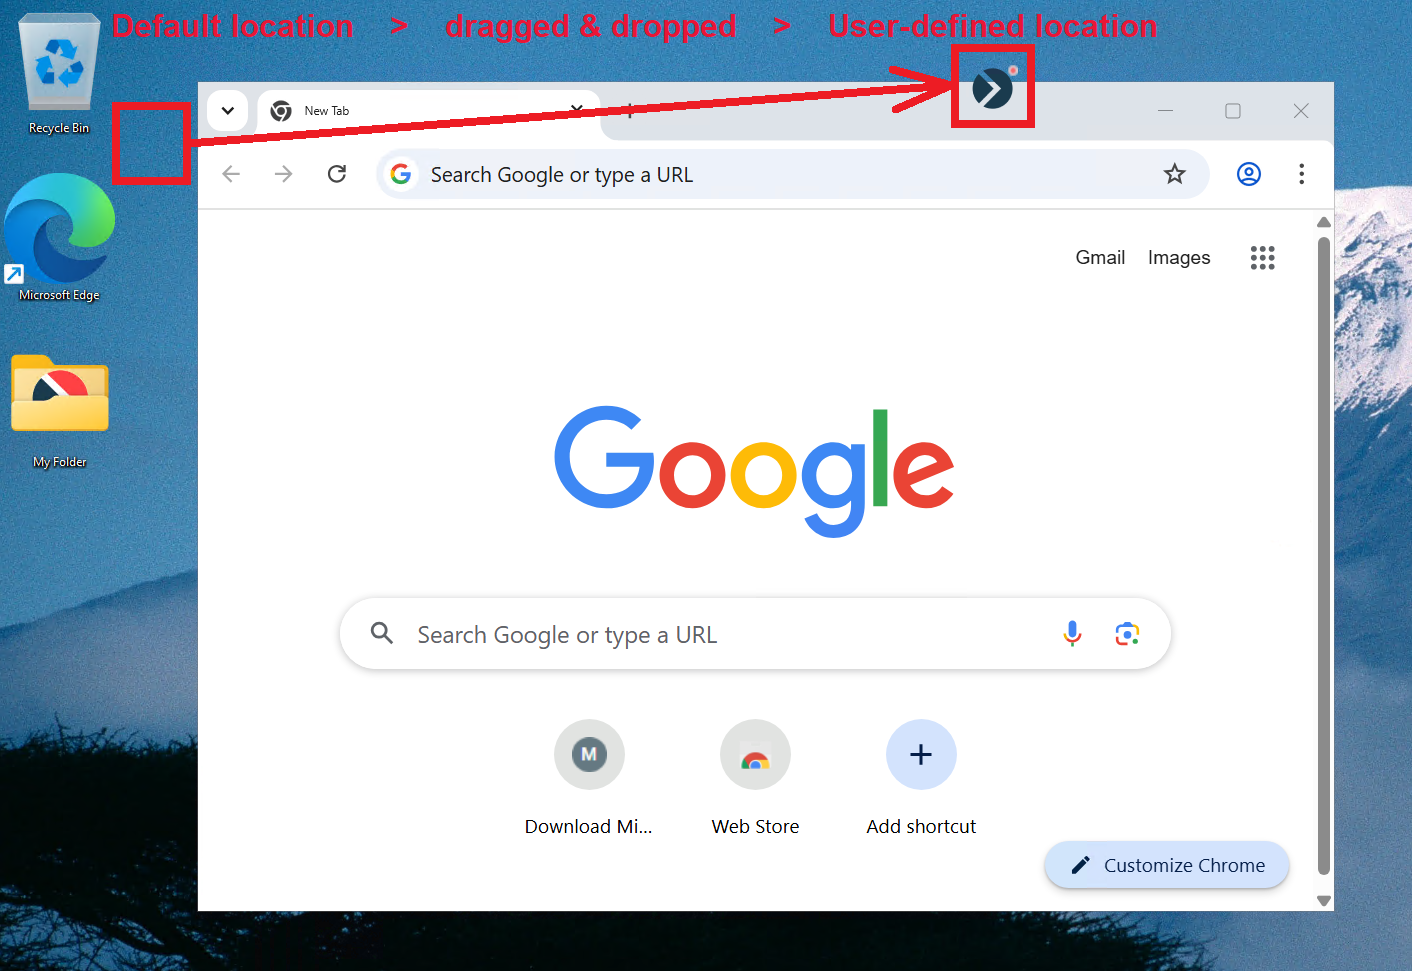
The icon may be displayed in different defined locations on the screen, and a user can move the icon to any location on the screen by dragging & dropping it, and depending on the settings, the icon may remain in the same position where each user last dragged & dropped it to when they next log in (or it may return to the original position after 10 minutes). The user may also be able to close the icon (by right-clicking on it).
To enable the displaying of the "Recording is in progress" icon while editing a Windows Client (or Client group), do the following:
1. Log in to the Management Tool as a user with the Client Configuration Management permission for Clients.
2. Click the Clients navigation link on the left.
3. On the Clients page that opens, find the Client which you want to enable the displaying of the Recording is in progress icon for, and click its name in the Client Name column (or select the Client Groups tab and find the required Client group, and then click on its name in the Client Group Name column).
NOTE: To find specific Clients, the Search box and filters at the top of the Clients tab can be used (or to find specific Client groups, the Search box at the top of the Client Groups tab can be used).
4. On the Editing Client (or Editing Client Group) page that opens, on the Properties tab, scroll down to the Client Mode section, and select the Display icon when recording is in progress checkbox if you want to inform users who are logged in, that their actions are being recorded, and then optionally also select:
- The Icon position dropdown list can be used to change the defined location of the icon on the desktop, by selecting one of the following values:
- Remember last manually set position (default value): To keep the icon in its current location for each user, so that whenever a user drags & drops the icon to a new location on the screen, it will remain in the new location, including the next time the same user logs in.
NOTE: If a user drags & drops the icon to a new location on the desktop, with any of the values below selected, the icon will return to the original location 10 minutes after being moved.
- Top left
- Top center
- Top right
- Bottom right
- Bottom center
- Bottom left
- Optionally, the Allow user to close the icon checkbox can also be selected to allow users on the Windows Client computer to right-click on the icon to close it (i.e. so that it is not visible to them) until the next time they log in.
NOTE: A custom icon can also be uploaded to replace the default Syteca logo icon.
5. Click the Finish button in the bottom right of the page, and the Client on-screen recording icon will be displayed to any user when they next log in.