Install the Syteca macOS Client locally from the command line using the SytecaMacOSClientuniversal.tar.gz installation package. Covers standard and hidden Client variants, Multi-Tenant tenant keys, and the Accessibility and Screen Recording permission grants required for correct Client operation.
Two macOS Client variants, one installation script
The Syteca macOS Client is installed locally from the command line on each macOS endpoint. Two Client variants exist and are installed with the same procedure:
Standard macOS Client installs the Syteca Session Client application, visible to the user. Used in most deployments.
macOS Hidden Client installs the System Analysis application, without visible UI indicators. Used when monitoring must stay out of sight. See macOS Hidden Client for the scope and boundaries of this variant.
The choice between variants happens when downloading the installation package, not during install. The installation procedure below is the same for both.
Beyond local command-line installation, this page also references mass deployment tools:Remote mass deployment on macOS is supported via mobile device management (MDM) platforms. Two of the most common MDM platforms have their own guides in the source documentation. Those procedures are not yet migrated to Mintlify and will be added in future batches.
Download the appropriate installation package from the Management Tool:
SytecaMacOSClientuniversal.tar.gz for the standard macOS Client, or
macos_hidden_agent_universal.tar.gz for the hidden macOS Client.
On the Installation File Download page, optionally set Settings Type to a specific Client group instead of the default - new Clients installed from this package join that group automatically.
Have administrator access to the target Mac and be prepared to grant the Accessibility and Screen Recording system permissions to the Client application after installation.
Transfer the downloaded .tar.gz package to any folder on the target macOS system.
For the hidden Client, the package is named macos_hidden_agent_universal.tar.gz rather than SytecaMacOSClientuniversal.tar.gz. The rest of the procedure is identical.
2
Open the Terminal and navigate to the folder
cd <path_to_folder>
3
Unpack the installation package
tar xvfz <installation_package_name>
4
Open the EkranClient folder
cd EkranClient
5
Run the install.sh script with Application Server parameters
Specify the server hostname or IP address, and optionally the port (default is 9447) and tenant key (for Multi-Tenant deployments):
Application Server hostname or IP address. Required.
-p <port>
Application Server port. Optional. Defaults to 9447.
-t <tenant>
Tenant Key for Multi-Tenant deployments. Optional. Omit for the built-in default tenant.
Multiple server hostnames or IP addresses can be provided, separated by semicolons, but the list must be enclosed in double quotation marks:
sudo ./install.sh -h "server1;server2;server3"
If the EkranClient folder contains a settings.ini file (custom monitoring parameters were configured when downloading the package), run install.shwithout any arguments. The script reads all parameters from settings.ini:
sudo ./install.sh
For SaaS deployments, use the load balancer hostname on the Syteca proxy server, and port 443 (custom ports are not allowed):
Grant Accessibility and Screen Recording permissions
The Syteca Session Client application (or System Analysis for the hidden Client) needs both the Accessibility and Screen Recording macOS permissions to function correctly. Without both permissions, screen captures and keystroke recording will not work.
macOS version
Where to grant permissions
macOS 12 (Monterey)
Open System Preferences → Security & Privacy → Privacy tab. Verify Syteca Session Client is toggled on for both Accessibility and Screen Recording.
macOS 13 (Ventura) or higher
Open System Settings → Privacy & Security. Check permissions on the Accessibility and Screen and System Audio Recording tabs. Verify Syteca Session Client is enabled on both.
For the macOS Hidden Client, the application name is System Analysis rather than Syteca Session Client. Look for that name in the Privacy panes instead.
7
Confirm installation completion
After installation and permission grants, the macOS Client appears on the Client Sessions page of the Management Tool.
Both methods below require the standard SytecaMacOSClientuniversal.tar.gz installation package (or a custom one containing a settings.ini file), downloaded and unpacked into any folder on a macOS machine first.
Using the hidden macOS Client instead of the standard one? Its package is named macos_hidden_agent_universal.tar.gz instead.
Deploys to Client computers running macOS 12 (Monterey).
1
Upload the device profile
In Jamf Pro, go to Computers > Configuration Profiles, click Upload, and select EkranClient/remote deploy/Profiles for Jamf/Syteca Client Profile v2.0.mobileconfig from the installation package.
Optionally (for hidden deployment), setup EkranClient/remote deploy/Profiles for Jamf/Suppress System Alerts.mobileconfig file. That profiles allows to hide system notifications about deployment macOS agent.
Pay attention: the profile hides “Background Items Added” and “… is recording your screen” notifications for all applications. But it does not lower the security of the Mac. The profile changes what the system displays; neither changes what the
system allows. Every protection that was enforcing before the profile is installed is enforcing afterwards, unchanged.
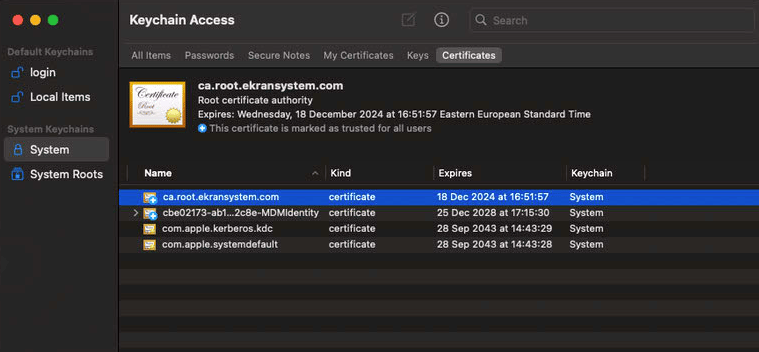
IN SAAS ONLY: also repeat this step for EkranClient/remote deploy/SaaS Ekran System Client Root Certificate Profile.mobileconfig.
2
Scope the profile
On the Scope tab, add the target computers and click Save.
3
Upload the installation package
Go to Settings > Computer Management > Packages, click New, and upload EkranClient/SytecaClient-<version>.pkg (or EkranClient/SytecaHiddenClient-<version>.pkg for the hidden Client). Click Save.
4
Upload the postinstall script
Go to Settings > Computer Management > Scripts, click New, name it, and on the Script tab paste the contents of EkranClient/remote deploy/postinstall.sh from the package.
If the package’s EkranClient folder contains a settings.ini file, use EkranClient/remote deploy/postinstall_ini_file_support.sh instead, and paste the settings.ini file’s contents into the SETTINGS_INI_FILE_DATA variable (replacing DATA) - then skip the next step.
5
Set the Application Server address and tenant
In the script, replace X.X.X.X with the Application Server’s hostname or IP address. The default port value 0 maps to port 9447 (customizable).
IN SAAS ONLY: use the load balancer’s hostname or IP address on the Syteca proxy server instead - port 0 maps to 443 and can’t be changed.
For a specific tenant in Multi-Tenant mode, replace 90807A10-DF80-45EA-A7DE-A550B55F548A with the tenant key from the Tenants page (leave it unchanged to install on the built-in default tenant).
6
Save the script
On the Options tab, set Priority to After, then click Save.
7
Create the deployment policy
Go to Computers > Policies, click New, name it, and under Trigger select Recurring Check-in.
8
Attach the package and script
Under Packages, click Configure, then Add next to the uploaded package, and set Action to Install. Under Scripts, click Configure, then Add next to the uploaded script, with Priority set to After.
9
Enable dashboard tracking and save
Select Show in Jamf Pro Dashboard, then save the policy.
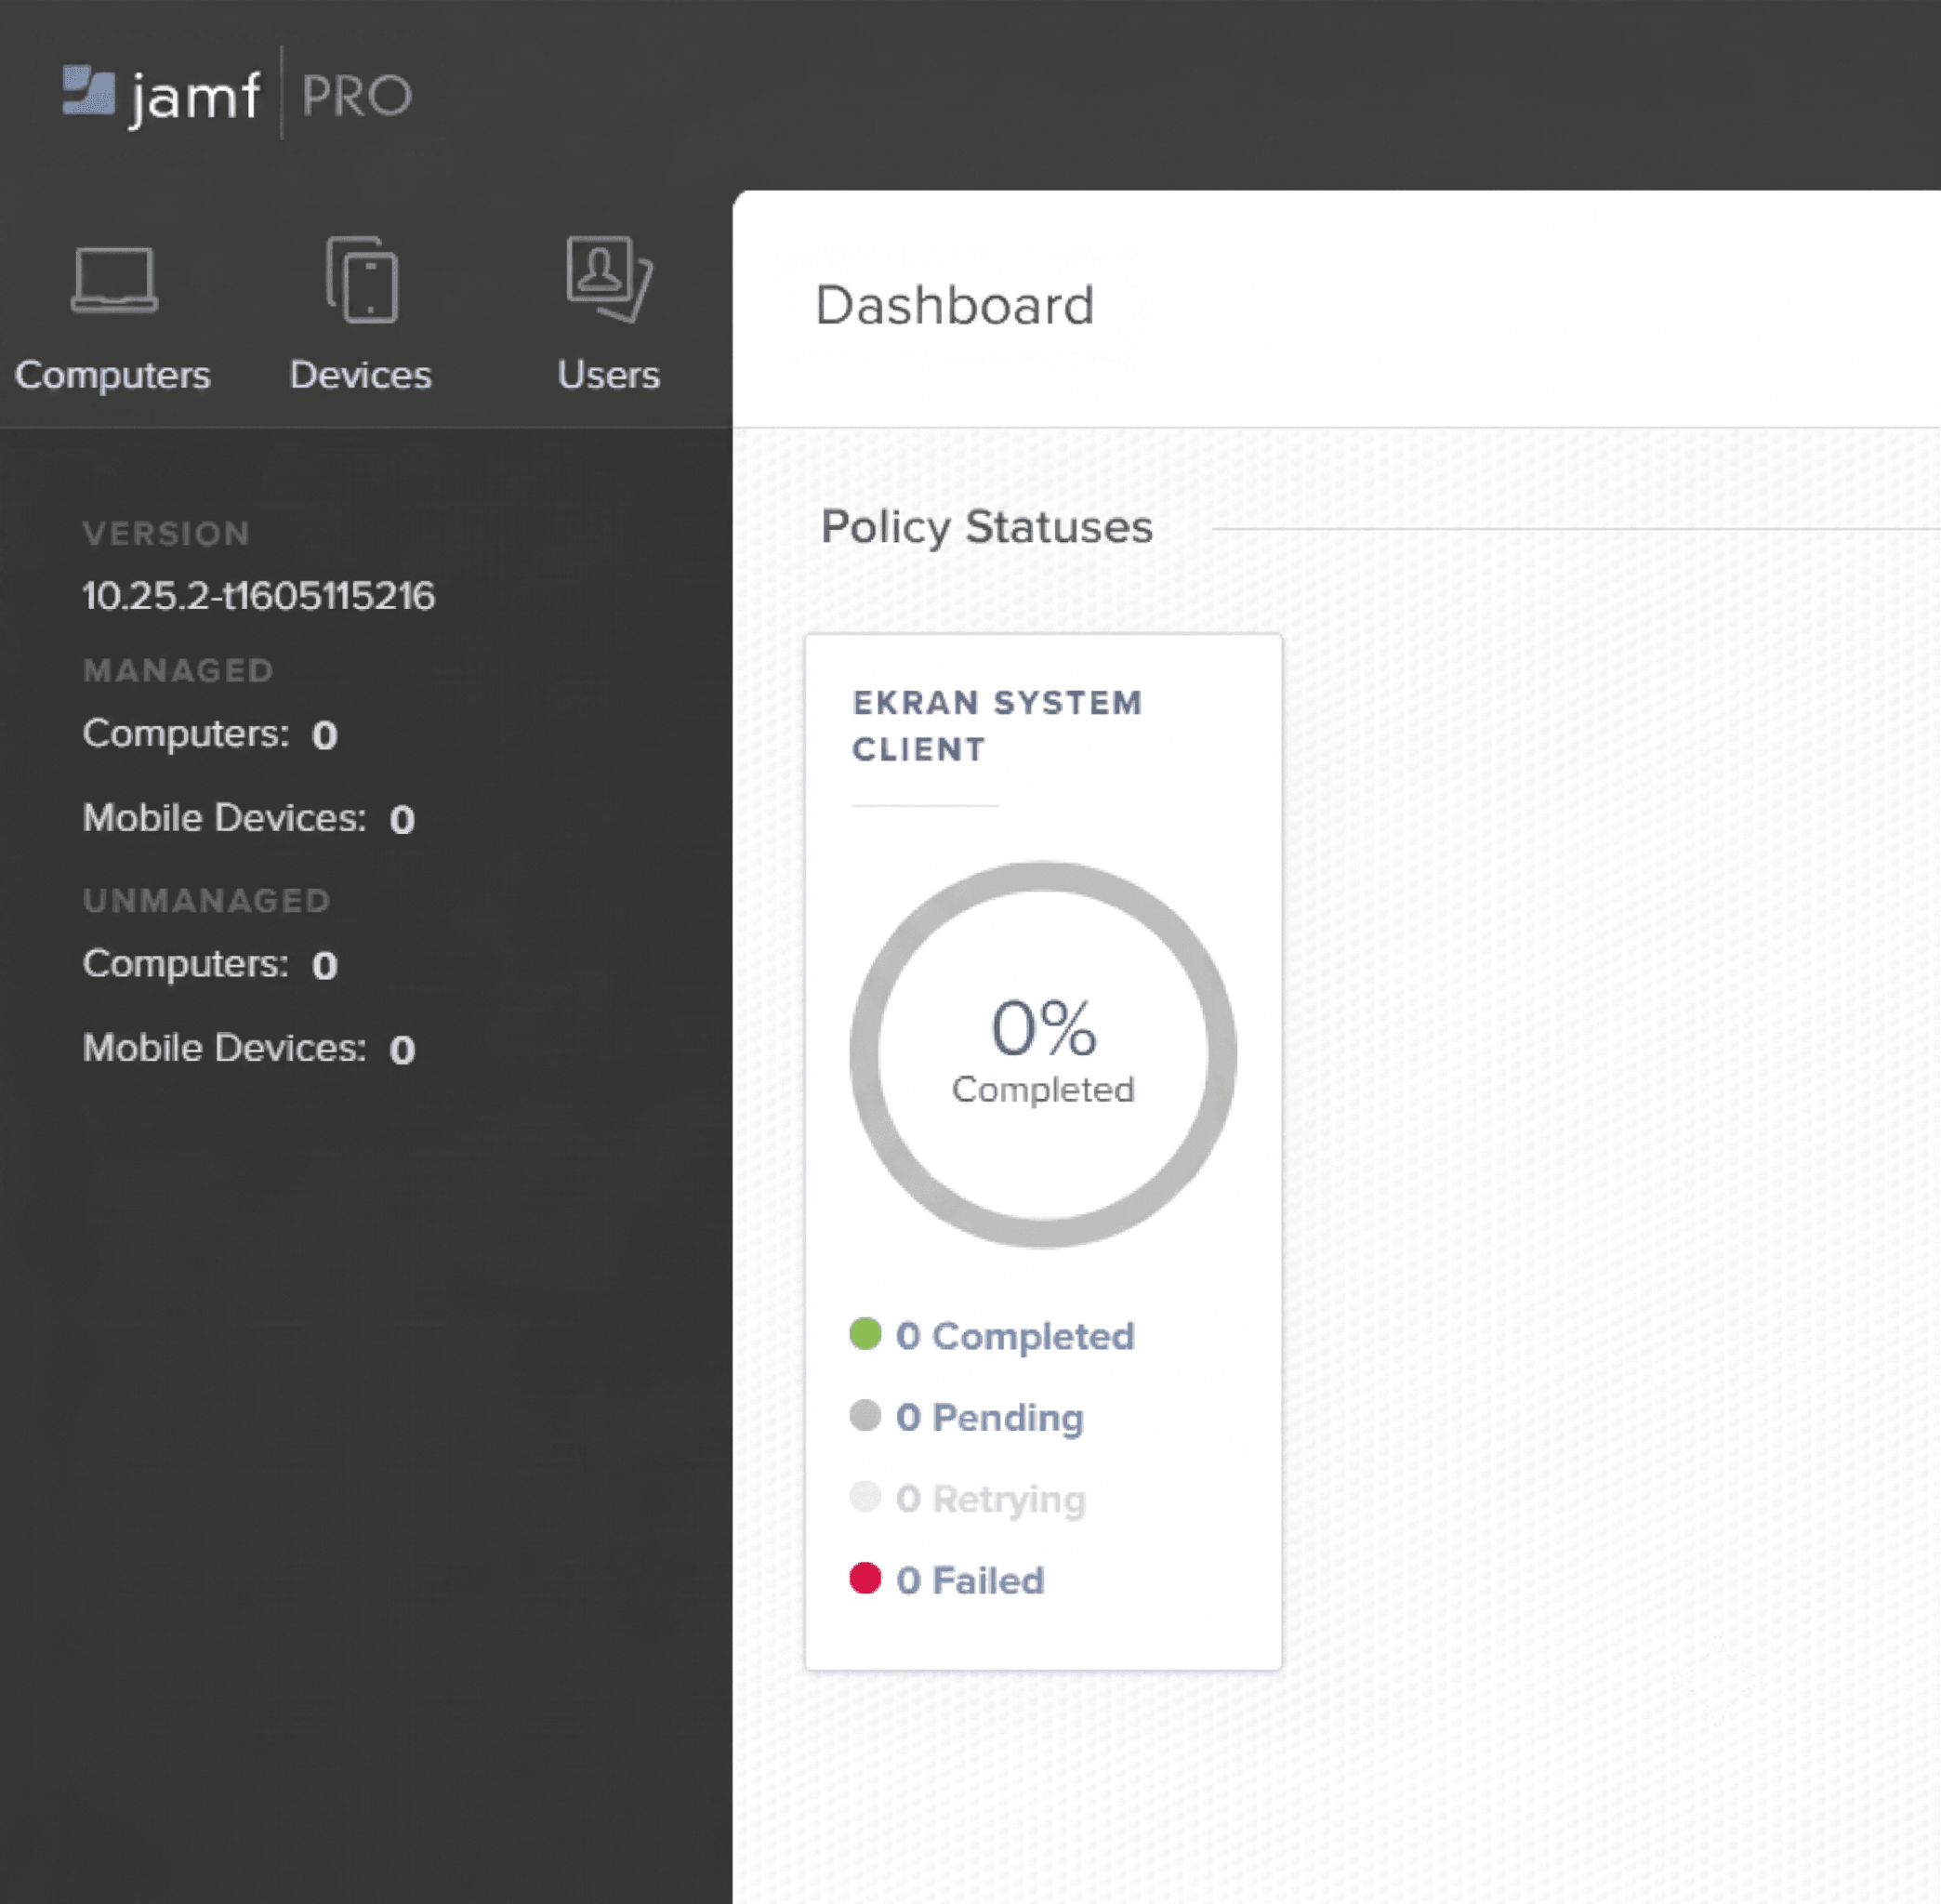
Installation begins about 15 minutes after the policy is created. Track progress from the Jamf Pro Dashboard, under Policy Statuses.
Tracking Client installation progress in the Jamf Pro Dashboard.
On macOS 13 (Ventura) or later, grant Workspace ONE Full Disk Access first, under System Settings > Privacy & Security > Full Disk Access (managedsoftwareupdate) - otherwise the Client can’t install.
1
Create a device profile
macOS 12 (Monterey)
macOS 13 (Ventura) / 14 (Sonoma)
Go to Devices > Profiles & Resources > Profiles, click Add > Add Profile, select Apple macOS, then Device Profile. Name it and assign the target Smart Groups on the General page. On Custom Settings, click Configure and paste the contents of EkranClient/remote deploy/Profiles for Workspace ONE/Ekran System Client macOS 11.x.xml. Click Save and Publish, then Publish.
Go to Resources > Profiles & Baselines > Profiles, click Add > Add Profile, select macOS system, then Device Profile. Name it, and under Custom Settings click Add twice to paste in both Ekran System Client macOS 11.x.xml and Ekran System Client Login and Background Items Management.xml. Click Next, select a Smart Group, and click Save & Publish.
2
Add the Client application
Go to Apps & Books > Applications > Native, click Add > Application File, and upload SytecaClient.pkg from the installation package. Click Continue.
3
Generate and upload metadata
Install the Workspace ONE Admin Assistant for macOS tool, use it to process SytecaClient.pkg and produce a .plist file, then upload that file to Workspace ONE UEM.
4
Set the minimum OS version
On the Details tab, select the oldest macOS version this deployment should support.
5
Add the Syteca logo (optional)
On the Images tab, upload the Syteca logo (also available from the Admin Assistant tool).
6
Add the postinstall script
On the Scripts tab, paste the contents of EkranClient/remote deploy/postinstall.sh into Post Install Script.
If the package’s EkranClient folder contains a settings.ini file, use EkranClient/remote deploy/postinstall_ini_file_support.sh instead, and paste the settings.ini file’s contents into the SETTINGS_INI_FILE_DATA variable (replacing DATA) - then skip the next step.
7
Set the Application Server address and tenant
Replace X.X.X.X with the Application Server’s hostname or IP address (default port 0 maps to 9447, customizable).
IN SAAS ONLY: use the load balancer’s hostname or IP address on the Syteca proxy server instead - port 0 maps to 443 and can’t be changed.
For a specific tenant in Multi-Tenant mode, replace 90807A10-DF80-45EA-A7DE-A550B55F548A with the tenant key from the Tenants page.
8
Configure distribution
On the Distribution tab, name the distribution, choose the target Assignment Groups, set the Deployment Begins time, and select Auto as the App Delivery Method.
Track deployment status from Apps & Books > Native > <app name> > Devices, or from Devices > List View > <device name> > Apps.