

Skip the manual VM buildout by deploying Syteca directly from Azure Marketplace
Manual cloud deployments of Syteca work, but they require sequenced work across virtual machine provisioning, SQL server installation, Syteca MSI installation, network configuration, and public endpoint exposure. Each step needs its own decisions, and mistakes cascade forward. A missing port opening in the initial network configuration means an inaccessible Management Tool later. An undersized VM chosen in step one means a migration to a larger VM later. The Azure Marketplace listing packages all of those decisions into a single wizard. The wizard provisions the resource group, database, virtual machines, and network configuration in one deployment, then hands back a ready-to-use Application Server URL. The choices you make in the wizard determine the shape of the final deployment. Everything else is automated.Use the Azure Marketplace deployment when your organization needs any of the following:
- A fast path from purchase decision to working Syteca deployment, without a manual cloud engineering effort.
- A cloud-first Syteca deployment where no on-premises Application Server is planned.
- Standardization across a portfolio of Azure-hosted internal tools.
- A choice between MS SQL, PostgreSQL, or Azure SQL Database as the backing database, made in the wizard rather than through a separate DBA procedure.
Prerequisites
Before starting the deployment, gather the following:- An Azure subscription with capacity available in the region where you want to deploy.
- A Microsoft user account with permissions to create new resources using that subscription.
- The existing SQL Server must be accessible over the Internet from the Azure region where Syteca will be deployed.
- Connection details for the SQL Server, including the fully qualified server name.
- Credentials of a SQL Server user with system administrator permissions. The deployment wizard needs these to create the Syteca database schema on the existing server.
The deployment process
The full deployment runs from the Azure Portal. Estimated time from starting the wizard to a working Application Server is 30 to 50 minutes, depending on the database type chosen and the region. The wizard has five configuration tabs, followed by a review step and the deployment wait. Each tab is covered in its own sub-section below.Start the Azure Marketplace wizard
1
Log in to the Azure Portal
Open https://portal.azure.com/ and log in with the Microsoft account you plan to use for the deployment.
2
Create a resource
On the Azure Portal Home page, click Create a resource.
3
Find Syteca in the Marketplace
In the Search the Marketplace field, enter Syteca.
4
Open the installation wizard
Click Create on the listing to open the installation wizard.
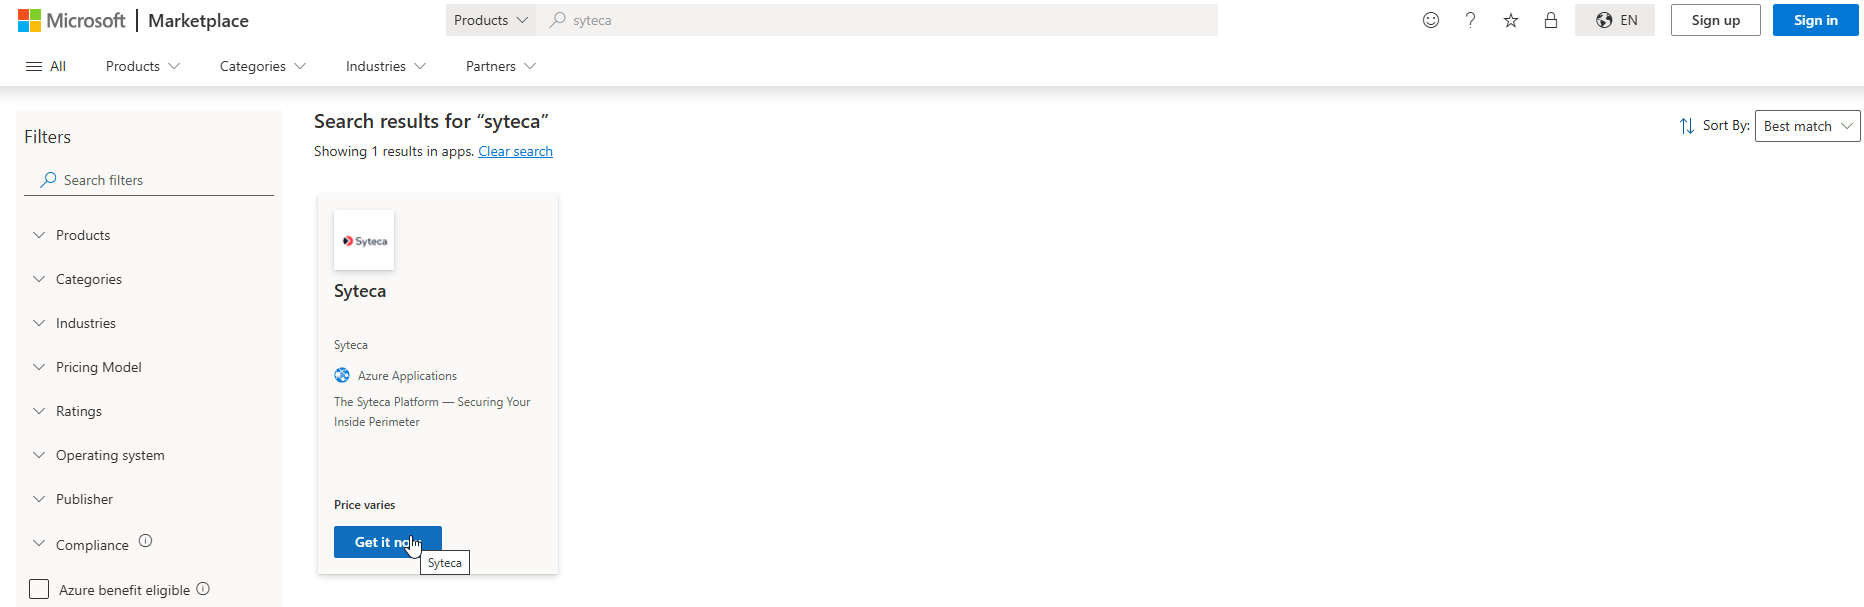
Azure Marketplace search for the Syteca listing. Click Create to open the installation wizard.
Configure the Basics tab
On the Basics tab, select the Azure subscription to use, create a new resource group, and select the region where Syteca will be deployed. Click Next when the fields are set.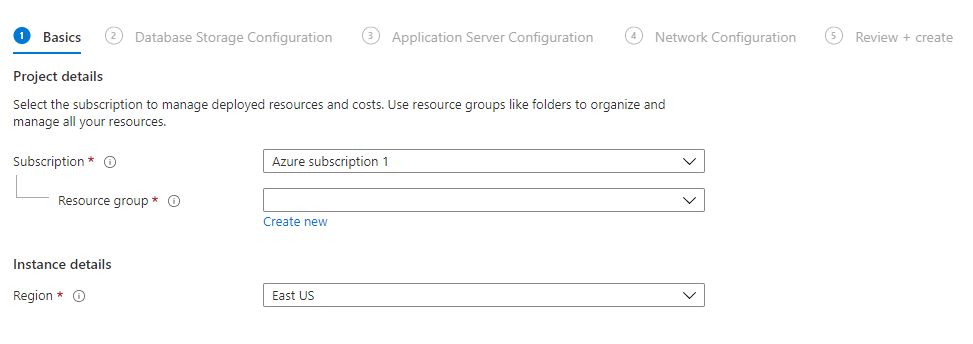
Basics tab. Subscription, a new resource group, and target region.
Configure the Database Storage Configuration tab
On the Database Storage Configuration tab, choose whether to install a new SQL server or reuse an existing one. Reuse an existing SQL Server. Provide the fully qualified server name (for example,myserver.example.com) and the credentials for a SQL user with sysadmin permissions.
Install a new SQL Server. Choose the SQL type: MS SQL, PostgreSQL, or Azure SQL Database.
Select the virtual machine size for the SQL VM based on the number of Clients you plan to monitor concurrently. For sizing, see System Requirements. To change the size after the initial selection, use the Change size button in the wizard.
For PostgreSQL, only the default user name
postgres is currently supported. If your organization requires a different administrative user, this constraint may block the PostgreSQL option.Configure the Application Server Configuration tab
On the Application Server Configuration tab, choose whether to install the Application Server on a standalone virtual machine (recommended) or on the same virtual machine as the SQL server. Standalone Application Server VM (recommended). Define VM size, public IP configuration, and domain name label. The domain name label combines with a region-specific suffix (for example,.eastus.cloudapp.azure.com) to form a globally unique fully qualified domain name.
Co-located Application Server on the SQL VM. Available only if a new MS SQL or PostgreSQL server was chosen in the previous step. Configure public access parameters for the shared VM.
Define the Management Tool default user credentials and URL. The default user name is admin. These credentials will be used to log in to the Management Tool.
Click Next once the Application Server configuration is complete.
Configure the Network Configuration tab
On the Network Configuration tab, adjust the virtual network settings for the deployment, or accept the defaults. Two optional ports control external reachability:These port options are only available if the Public IP address in the previous step was not set to None.
Review, launch, and wait
On the Review + create tab, review every setting. Read the Terms of Use carefully. Click Create to start deployment. Deployment takes between 30 and 50 minutes depending on the settings chosen. Progress is visible on the Azure Portal Resource group page, on the Deployments tab, and on the Overview tab of the specific deployment.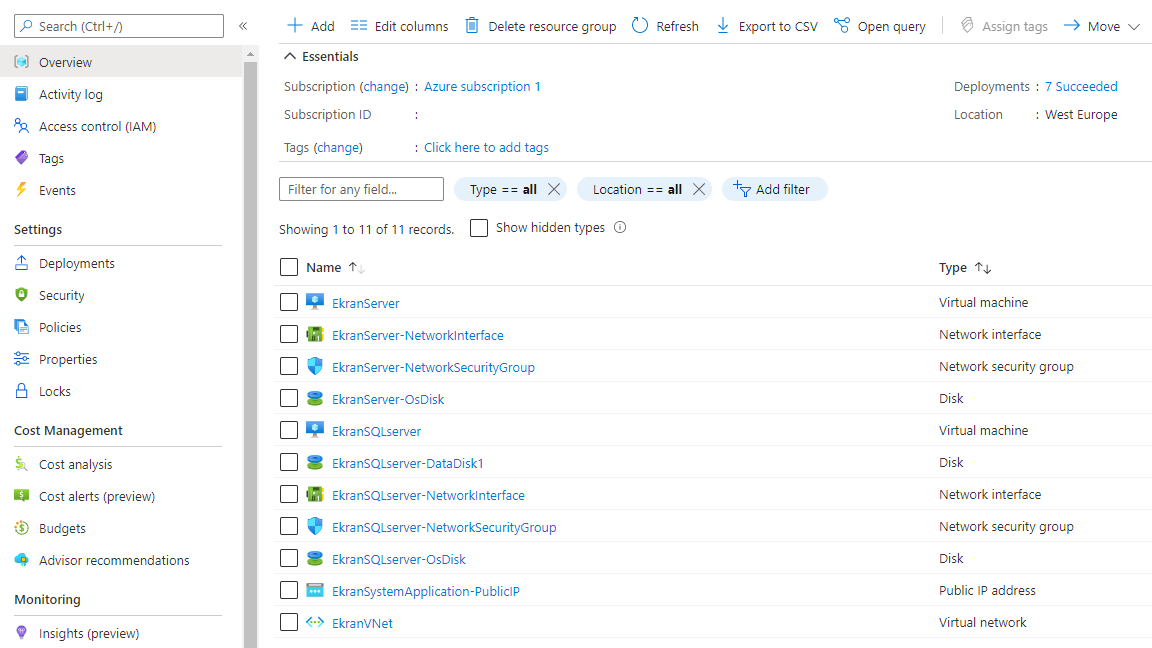
Azure deployment progress across the resources being provisioned for Syteca.
Access the Management Tool for the first time
Once the deployment completes, the Application Server is running but not yet in use. To reach the Management Tool:-
In the resource group’s list of deployed resources, click the virtual machine named
EkranServer(the default name for the Application Server VM). - On the VM’s Overview tab, in the Essentials section, copy the DNS name of the virtual machine.
-
Combine the DNS name with the URL configured during deployment (the default is
ekransystem) to form the Management Tool URL. For example, if the DNS name issyteca.eastus.cloudapp.azure.comand the configured URL isekransystem, the full Management Tool URL is: - Open a browser and paste the full URL into the address bar.
-
Log in with the default user name (
admin) and the password chosen during deployment.
If port 443 was opened during deployment, the Management Tool is reachable from any browser with Internet access. If not, the Management Tool is only reachable from a browser running on the Application Server virtual machine itself. To open port 443 later, adjust the Network Security Group associated with the Application Server VM.
Related
System requirements
Sizing, database, and network requirements to inform the wizard choices.
Install the Application Server (on-premises)
Manual on-premises installation, for comparison with the Marketplace path.
Deployment architecture
How Application Server, database, and Clients fit together after deployment.
Update Syteca
Ongoing update procedures after the initial Marketplace deployment.