

These tasks require the Tenant Management and System Configuration administrative permission, and you must belong to the built-in default tenant.
View the serial key and licenses
1
Open the page
Sign in to the Management Tool and click the Configuration button at the top.
2
Open the Serial Key sub-tab
On the Serial Key Management tab, the Serial Key sub-tab is shown by default.
The Applications section shows which of the four applications (and which features within each) are enabled — gray toggles or gray feature names mean disabled.
Application toggles and gray features can only be changed by your Syteca vendor updating your serial key. You enable them by purchasing them.
Seat Licenses and Endpoint Licenses
Below the applications, two sections show what’s available and what’s in use:- Seat Licenses — for PAM users (also called PAM seat licenses or Password Management seat licenses). See Assign PAM seat licenses.
- Endpoint Licenses — for endpoint computers. Each row is a custom endpoint license type contained in your serial key, with the columns:
The default operating system assignments are:
Only one row can be Default for Workstations and only one row can be Default for Servers at any time.
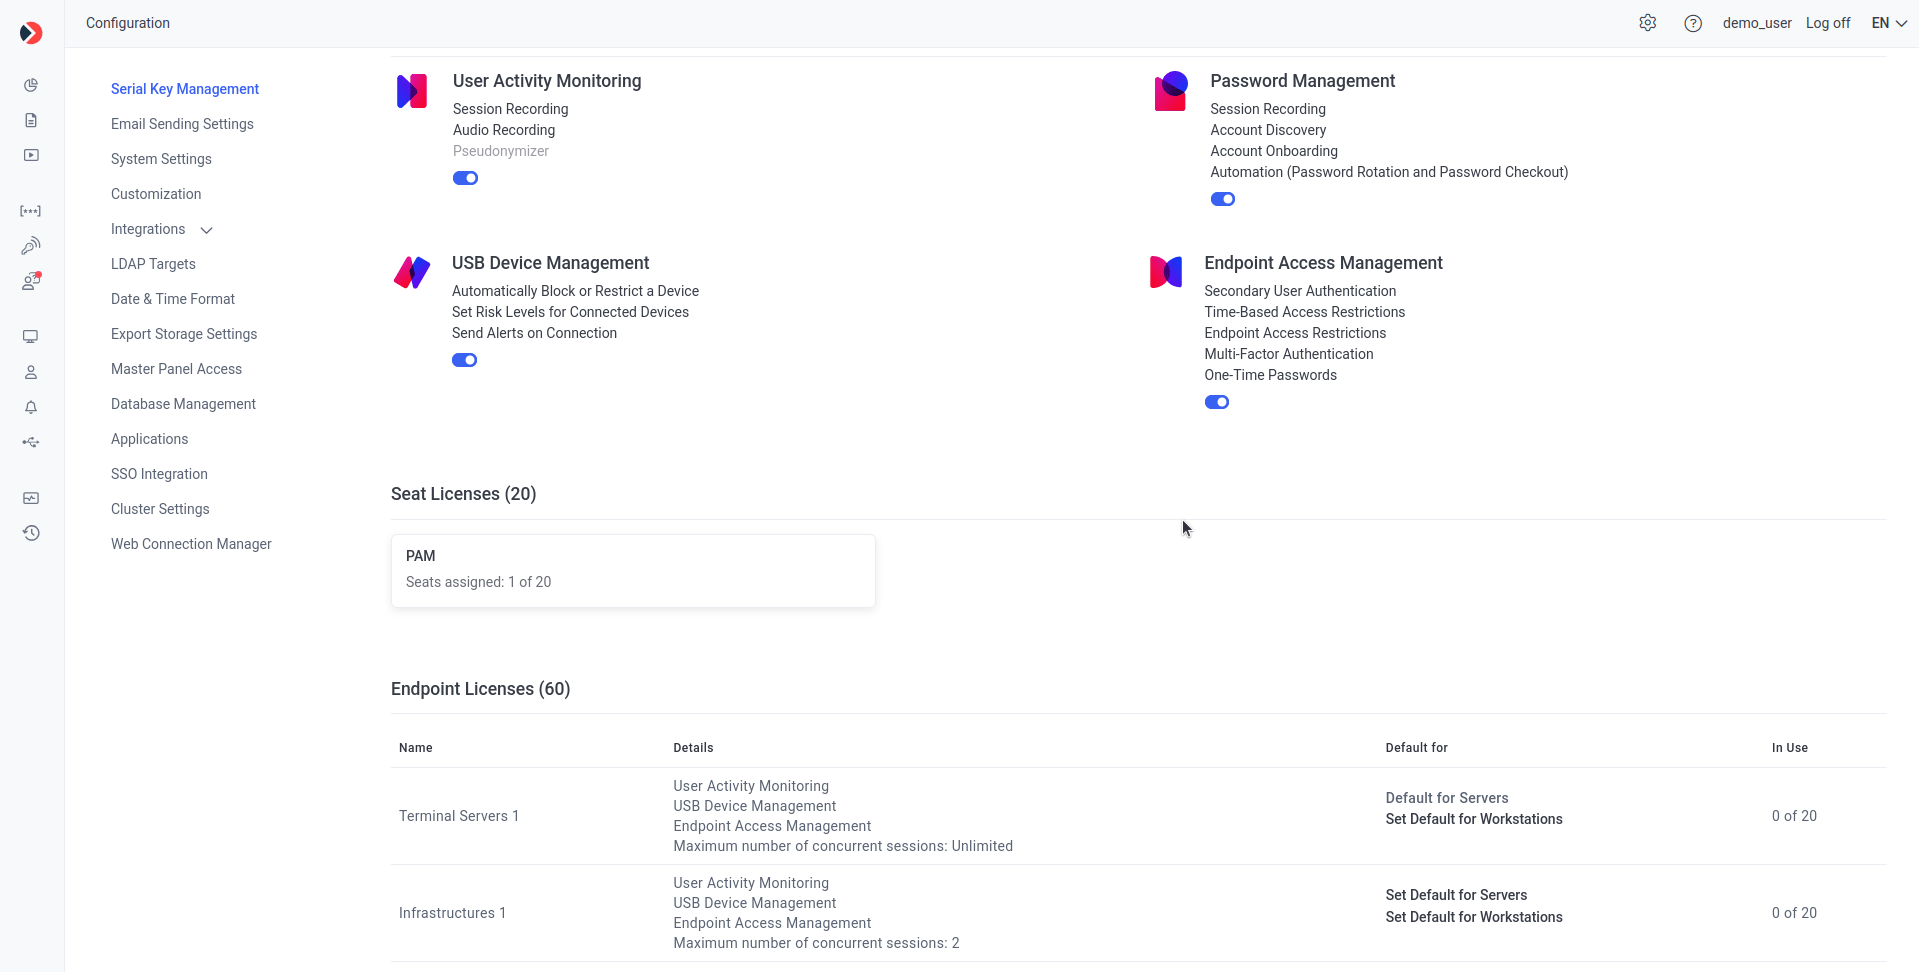
The Serial Key sub-tab with metadata, applications, seat licenses, and endpoint licenses.
In Multi-Tenant mode, a Licenses Granted sub-tab also appears, where the technician views and changes the number of licenses granted to each tenant. See Granting licenses to tenants.
Activate or update the serial key
Activation modes depend on whether the Application Server computer has Internet access. Whenever your vendor updates your serial key on their side, you also need to update it here for the changes to take effect.- Online
- Offline
Online activation requires an Internet connection on the Application Server computer. If the computer is behind a corporate web proxy, see Configure a web proxy for activation first.
1
Open Serial Key Management
Click Configuration at the top of the Management Tool, then go to the Serial Key Management tab.
2
Activate or update
On the Serial Key sub-tab:
- To activate a new serial key: (not available in SaaS) click Activate Product in the top right and choose Activate Product Online. In the Serial Key Activation pop-up, paste the serial key and click Activate.
- To update an existing serial key: click Update Key State in the top right.
3
Confirm the result
The activated or updated serial key is displayed on the Serial Key Management tab, with the number of licenses available and the Update & Support period end date.
Configure a web proxy for activation
Not available in SaaS.
1
Open the server configuration file
On the Application Server host, open
EkranServer.exe.conf in a text editor. The default location is:2
Edit the proxy configuration
The right edit depends on your Syteca version.
Syteca 6.47.1 or later
Syteca 6.47.1 or later
In the
<appSettings> section, add a single line with your proxy address and port:EkranServer.exe.conf
Versions before 6.47.1
Versions before 6.47.1
In the
<basicHttpBinding> section, set proxyAddress and useDefaultWebProxy="false" on each binding:EkranServer.exe.conf
3
Restart the service
Restart the EkranServer service.
4
Activate the serial key
Activate the serial key as described under Activate or update the serial key.
Deactivate the serial key
Not available in SaaS. An expired serial key cannot be deactivated.
1
Confirm prerequisites
Make sure the Application Server computer has Internet access.
2
Open Serial Key Management
Click Configuration at the top of the Management Tool, then go to the Serial Key Management tab.
3
Deactivate
Click Deactivate Key on the right.
4
Confirm
In the confirmation message, click Deactivate.
Related
Licensing overview
Serial key types, contents, and the Update & Support period.
Assign PAM seat licenses
Assign PAM seat licenses to users.
Assign endpoint licenses
Manual, automatic, and Multi-Tenant license assignment.
System Health dashboards
Monitor licensed Client status.